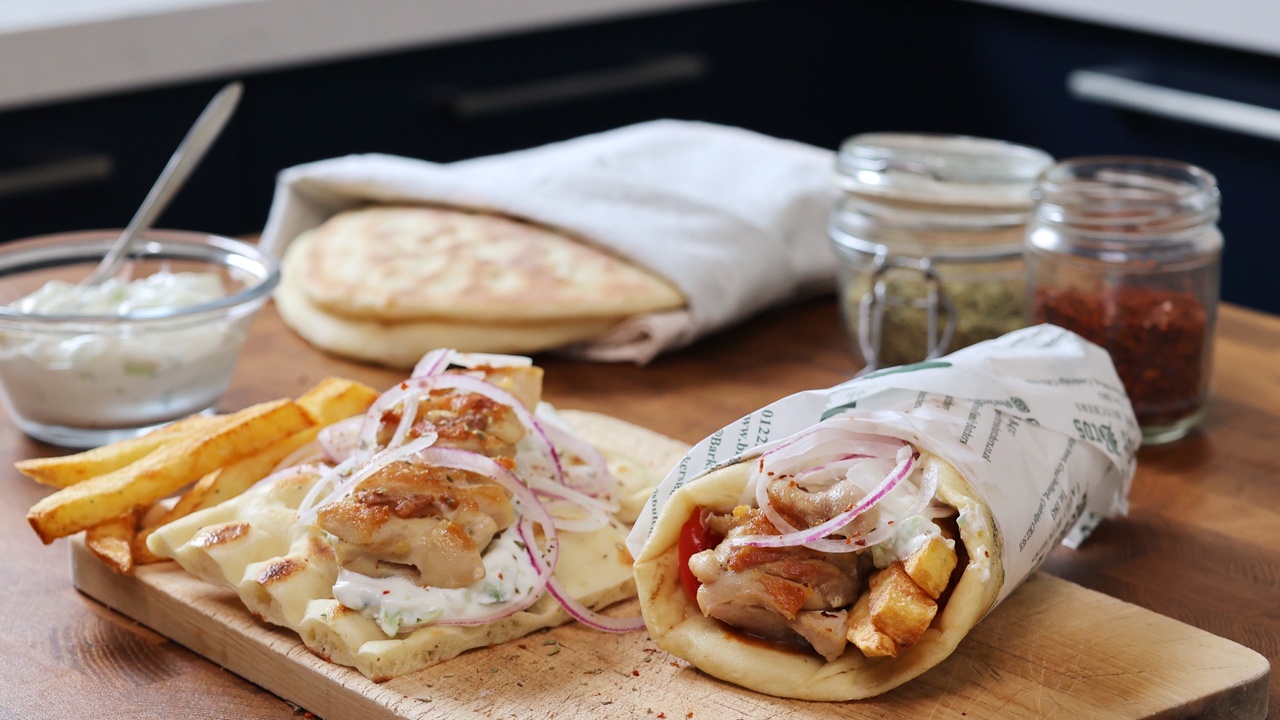
Chicken Souvlaki: The Best Street Food in Greece, & There’s a Very Good Reason Why!

One of the best and most enjoyable kebabs to cook at home. The chicken kalamaki pita is the little brother of the Gyros, but don’t be fooled, it packs a punch. I dare to add chilli sauce to mine… which I know offends my Greek buddies, but hey ho, I love it!
I wanted to show you how to make these lovely soft pita breads, but I couldn’t not let you know how to make the whole wrap!
Ingredients
Pita
300g flour (strong bread flour)
210g Milk
8g Salt
7g Dried Yeast
15g Olive oil
Wrap
Chicken thighs - 1 per person
Salt & water to brine the chicken
Small pot of Greek yoghurt (250g will work perfectly)
1 small cucumber or half a large one
1 juicy lemon
2 small cloves of garlic
1 tomato sliced
1 red onion sliced
Oregano
Chilli flakes (optional)
Chips (home-made would be my first choice, but oven chips would be close second)
Watch the tutorial on YouTube
Method
Pita Bread
1. Add the milk to a bowl and dissolve the salt in the milk. Add the olive oil, dried yeast and the flour and stir to combine roughly. Leave to sit out covered at room temperature on the bench for 20 - 30 minutes to allow the flour to hydrate, this will make the kneading easier.
2. Knead the dough for about five minutes until the dough is nice and smooth, shape into a ball. Cover and leave to rise at room temperature. Mine took three hours but remember that time will vary dependant on your conditions.
3. When roughly doubled in size divide the dough into four pieces and roll each one into a dough ball and place on a floured tray covered with a plastic bag, leave to proof again. Mine took an hour and half.
4. Lightly flour your bench and roll each piece of dough into a circle that’s about 18-20cm. Cover with a tea towel and leave to rest for 5 to 10 minutes. Use your fingers to dimple the top of the pita by pushing down hard. Make sure the work surface is lightly floured to stop the pita sticking as you do this.
5. You can bake these in the oven on a baking stone or steel. You’ll need the oven set to 250c and the steel or stone positioned half way up the oven. But, they can tend to puff up which you really want to avoid. Therefore cooking them in a pan or on a griddle works best. My cast iron pan is heated to 5/9. Cook until nicely coloured on the bottom, flip and colour slightly on the top.
Leave the pita to cool in a tea towel as it will help keep them soft, once cool they will keep fresher in a ziplock bag (push as much air out as possible)
Chicken
6. The chicken thigh pieces were brined in a simple water and salt solution. I dissolve 5% salt into the water for a quick brine and left the chicken pieces in there for one hour. You can add other spices / flavourings to the brine but I prefer a plain salt brine as I want the chicken to taste of pure grilled chicken goodness!
7. Skewer the chicken and cook in a pan (cast iron works really well). Keep the heat around medium so that the chicken develops a golden colour and crispy texture on the outside but stays nice and juicy on the inside. No skewers? Then sauté the chicken pieces instead!
Tzatziki
8. To make the tzatziki add the amount of yoghurt you’d like to a bowl. Use a good quality yoghurt with a good fat content, mine was 6%. You can use as much cucumber as you want, its personal. Take out the watery core and grate (I prefer the skin on, but you can remove if you’d like). Sprinkle with a good pinch of salt and leave for 15 - 20 minutes. Squeeze out any excess moisture and add to your yoghurt along with, crushed garlic, lemon zest and juice. I don’t season this as the salt in the cucumber is plenty.
When you reheat the pita you can do it in the pan after the chicken has been cooked to capture all of the juices. Alternatively reheat in the oven or in. Pan on low heat.
Putting it all together
9. You can put whatever you want in your souvlaki, but I like the way my local place serves mine. So for me it’s: Chicken, tzatziki, sliced tomato, sliced red onion (the finer the better), chips, oregano and chilli flakes.
If you enjoyed this blog and would like to support ongoing content creation and help keep the website ad-free, you can click below to make a contribution.
As an Amazon Affiliate, I may earn a commission from qualifying purchases


